WordPress Custom Taxonomies: Beginner’s Guide

Last week, in the previous article, we introduced custom post types in WordPress, as a powerful tool to customize your website and make it fit your specific needs. In the process of creating our very own post type called Reviews, we mentioned the term taxonomies. In fact, we added a taxonomy called Review Type to the custom post type. This section is all about understanding WordPress Custom Taxonomies. So, let’s get on with it!
What are Custom Taxonomies in WordPress?
Taxonomy is the science of defining and naming groups of biological organisms with shared/mutual characteristics. It refers to classification and grouping of such organisms.
With WordPress, Custom Taxonomies are just a way to group similar pieces of content into separate groups. The names for different groups in a taxonomy are called terms. This allows users to publish and display posts in a more organized and structured manner.
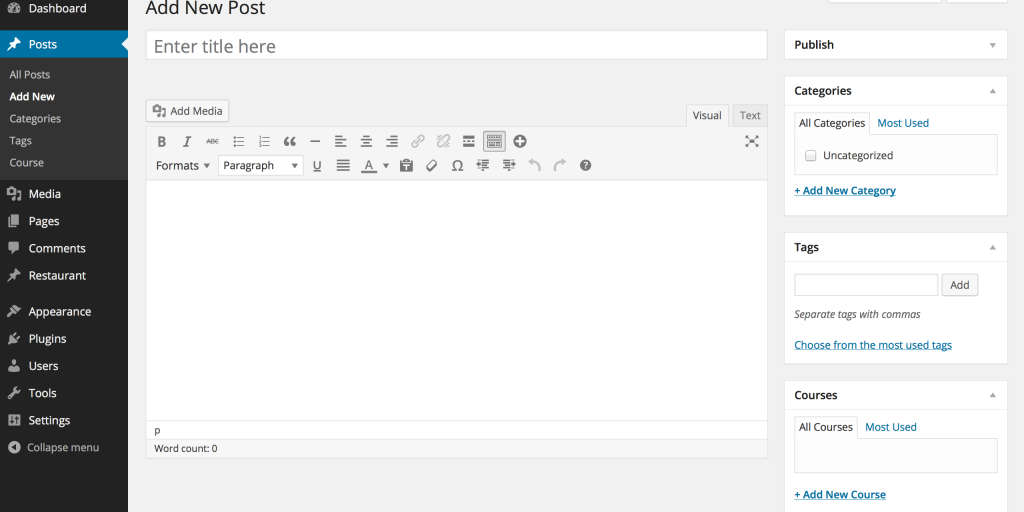
Even though you may not be familiar with the technical term “taxonomy” and its origins, you have already used it in WordPress. How? Well, by using categories and tags to group your posts! These are the two most popular taxonomies in WordPress.
Custom taxonomies come into play when you don’t want to mix your different post types in same taxonomy groups. While you can always use the existing WordPress taxonomy “category”, and create different terms, it’s good to have separate taxonomies for different post types. Why? Because having the terms Digital Marketing, How To and Smartphone Reviews in the same taxonomy can make your content look really messy, really fast.
Taxonomies can be hierarchical, and have parent-child taxonomy relation. This means that you can have main a main term like Laptop Reviews, and then for instance, 3 sub-terms: Budget, Mid-range and High End.
Example
If your website is about electronic reviews, you can separate your content in 3 main taxonomies. The first (in-built) taxonomy “category” can be used for your blog posts, and contain terms like Digital Marketing and How To. This taxonomy will be attached to your default post type “post”. The second and (custom) taxonomy “review-type”, can hold everything related to electronic reviews. It will be attached to the custom post type “reviews”. The third (in-built) taxonomy is tags — and can be used for everything.
2 Ways for Creating WordPress Custom Taxonomies
Enough with the theory, let’s move forward, and create a hierarchical custom taxonomy called Review Type.
Using a Plugin
If you don’t feel comfortable with coding, you can use Custom Post Type UI. This plugin has a fairly simple user interface that allows you to create a custom taxonomy within minutes! Here’s how to create a custom taxonomy with this plugin:
1. Download, install and activate Custom Post Type UI.
2. Navigate to CPT UI from your admin panel, and click on Add/Edit Taxonomies.
3. Under basic settings, in the field taxonomy slug, write a unique slug for your taxonomy. In our case, this is going to be two words separated with a dash: review-type.
4. Next is plural label, used for the admin panel. We will set it to “Review Type”.
5. Singular label is very similar to the label from Step 4, but it applies in situations when WordPress needs to use a singular name of a taxonomy. Set this to “Review Type” as well.
6. Go to Attach to Post Type, and select the post type on which you want to attach this taxonomy. If you’re following us from the previous article, select Reviews.
Notice that the singular and plural labels are identical for our custom post type. In our case, this really doesn’t make a difference. But if we had a custom post type like movies, and created a taxonomy called Actors, our plural label will be Actors, and the singular label Actor.
At the end of the day, how users name labels is totally up to them — as they are just visual enhancements for better UI and UX.
Manually
Go to your theme’s functions.php, and at the end of the file, write the following code:
// Creating a custom taxonomy for Reviews CPT
function create_reviews_taxonomy() {

// Add new taxonomy, make it hierarchical like categories
  $labels = array(
    'name' => _x( 'Review Type', 'taxonomy general name' ),
    'singular_name' => _x( 'Review Type', 'taxonomy singular name' ),
    'search_items' =>  __( 'Search Review Types' ),
    'all_items' => __( 'All Review Types' ),
    'parent_item' => __( 'Parent Review Type' ),
    'parent_item_colon' => __( 'Parent Review Type' ),
    'edit_item' => __( 'Edit Review Type' ),
    'update_item' => __( 'Update Review Type' ),
    'add_new_item' => __( 'Add New Review Type' ),
    'new_item_name' => __( 'New Review Name' ),
    'menu_name' => __( 'Review Type' )
  );

// Register the taxonomy
  register_taxonomy( 'review-type', array( 'reviews' ), array(
    'hierarchical' => true,
    'labels' => $labels,
    'show_ui' => true,
    'show_admin_column' => true,
    'query_var' => true,
  ));

}

// Hook into the init action and call create_reviews_taxonomy when it fires
add_action( 'init', 'create_reviews_taxonomy', 0 );
Similar to when we created a custom post type, we have the $labels array for UI visuals on the WordPress panel. Then, we call the register_taxonomy function which takes as an argument 3 parameters: the slug of the taxonomy, the post type to which it connects (passed as an array, because it can be applied to more than one post type) and core settings. The last parameter is an array composed of main settings like hierarchical, show_ui, etc. You can read up on what each specific field represents in the WordPress Codex, and make changes if needed.
